

Why do bows cost so much? Here’s a quick explanation.
Often people ask why bows cost so much:
“Isn’t $1000 far too much for a piece of wood and some hair?”
“It’s all marketing and attempting to raise value based on pompous perception. Period.”
“Paying over $1,000 for a small piece of wood and some hair is a total joke.”
We wanted to answer some of these questions and explain the art behind the bow.
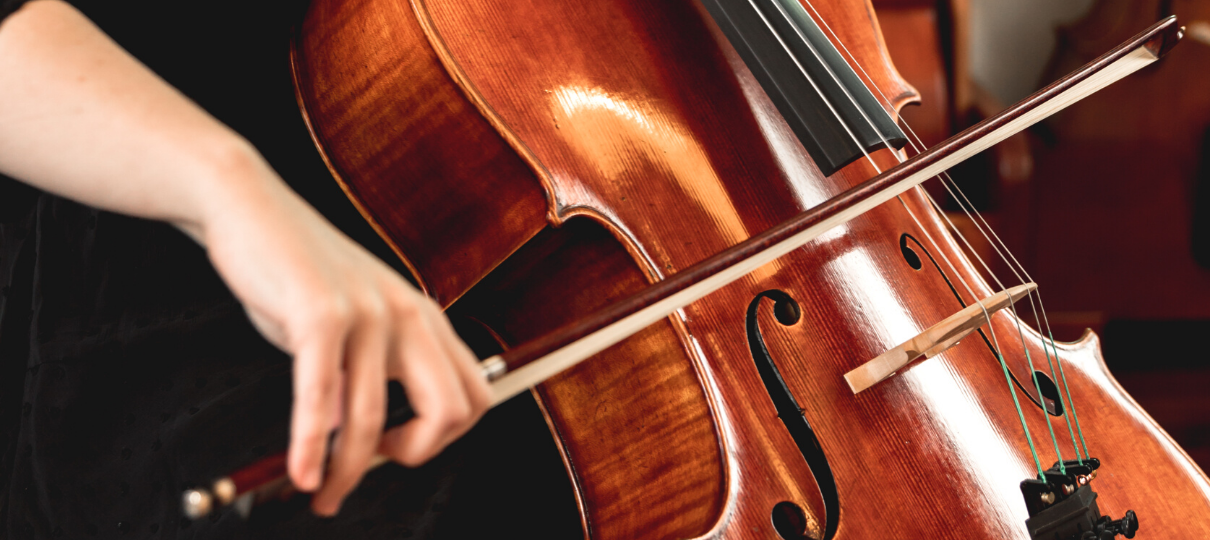
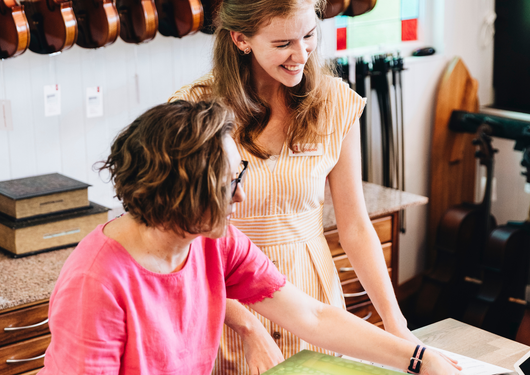
Put simply, a bow is handmade, by a fully trained, highly skilled craftsman. When made correctly, an individual bow will take three full days to complete, with higher quality bows taking a full week.
Once we examine how bows are made, we then need to consider the cost of the precious materials bow makers use. A sizable block of pernambuco can cost around $250, with lower and higher prices available depending on the quality. Brazilwood, the outer timber from the same tree, is used for student and lower intermediate bows because it is a lot cheaper, and still does the job well enough. Bow makers also need ebony, silver (the maker actually cuts, melts, solders and shapes the silver parts like a real silversmith) leather, hair (very expensive), bone or mammoth ivory, mother of pearl. Once you add all of these items up, you can understand why high quality bows are expensive. Generally speaking, if you’re shopping with a reputable business, you do get what you pay for.
How are bows made?
This is a very involved process that we’ve simplified below.
Almost all wooden bows are made in the same way, even the most affordable ones. The differences are in the quality of woods and other materials used in construction; speed of manufacture; attention to detail. Attempts to mechanise the process have been thwarted by the need to taper the bow correctly towards the point, which factory machinery cannot manage effectively. It must be done by hand. Also the assembly of a frog is much too intricate and requires making by hand.
The Stick:
The stick is made from a “blank” which is a piece of wood that was first cut to the required size.
The long part of the stick is hand shaped using carving tools, including specially made planes, tapering towards the curved end, which is called the bow head, and finally tapering again down to the tip. During the rough preparation stage the stick is made hexagonal. The bow head is also hand carved, using woodcarvers’ knives, rasps and special files.
A flame heats the stick so it can be bent into approximately the correct curve. After fitting the frog (following its initial rough cut) the bow is given a final shaping, including very careful attention to the graduation of the taper. If the finished bow is intended to have a round stick, the rounding will be done at this stage. The stick is usually left hexagonal at the end where the nut, or frog is fitted.
After the final trimming and shaping, the stick is chemically treated using nitric acid, followed by exposure to ammonia fumes, so as to bring out the characteristic colour of the pernambuco or brazilwood. Pernambuco is a dark and oily wood that doesn’t need varnishing. After treating the stick it is then French polished with an oily rag, using shellac and perhaps some other gums and resins to protect the wood and add extra shine.
The tip facing or headplate is made in two parts, using a thin veneer of ebony and outer surface of bone (or plastic in cheaper bows). These are glued together onto the tip of the bow. Traditionally ivory was used for the tip facing, but of course that is now restricted internationally. Mammoth bone is a common substitute, and other materials like silver, gold, shell, and various synthetic materials are also used.
This plate is fitted to create strength for the wood at the tip and around the mortise in which the hair is secured. If damaged or cracked at any time, it is essential to have it replaced: otherwise your bow tip is at risk of further injury.
The process of fitting the tip facing is very detailed, requiring exquisite care with knives and other fine tools. If at any time you do need it replaced, removal of an existing headplate is equally detailed. Other work required in making the stick include cutting the mortise that holds the frog; drilling the hole to house the screw; hand-fitting the silver winding and leather pad.
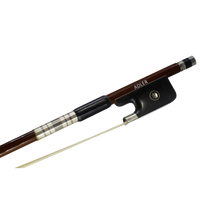
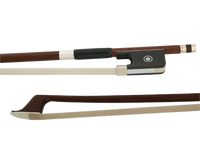
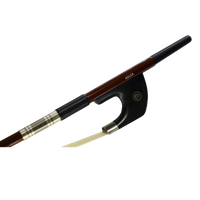
The Frog:
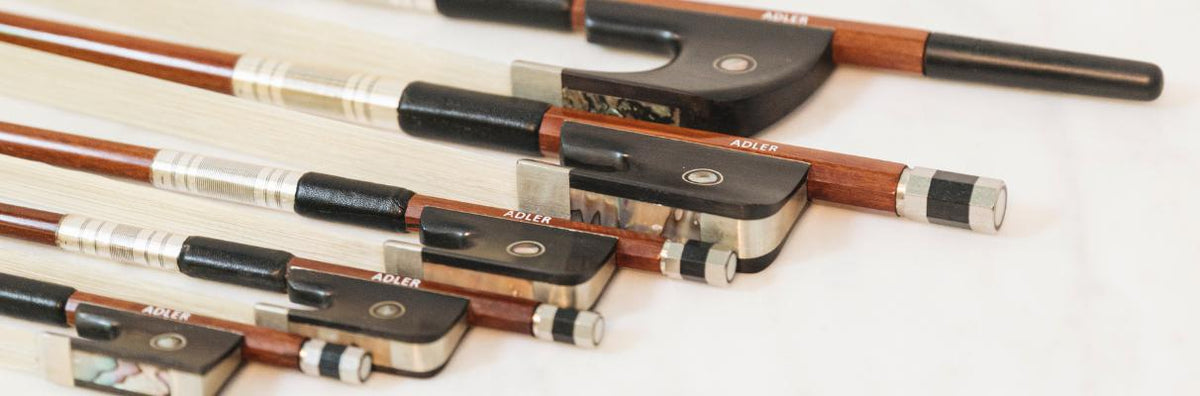
The frog is a very specialised item that requires your bow maker to be a metal worker, wood carver, and silversmith all in one. The frog is usually made of ebony although other materials are also used.
Prior to carving the frog, the luthier prepares all the metal components. The ferrule is made with two pieces of sheet silver, one flat and the other semicircular, which the maker will solder together. The screw is made with a threaded shaft; the adjuster (handle) is created by the luthier from ebony and silver, turned on a lathe, and given its hexagonal shape by careful filing.
Other items to be made are the silver liner; the back plate for the frog; the eyes - either cut out from mother of pearl and fitted by themselves, or fitted with silver rings as well; the pearl slide.
The frog is cut from a small wedge of ebony and shaped by hand using a plane, chisels, knife, gouge, drill and very fine metal scrapers. As each item is fitted to the frog, and the frog fitted to the stick, there are many adjustments to be made using these various tools.
When the stick and frog are ready to assemble, the hair is fitted to perfection and the final trimming and polishing of the stick and frog are completed.
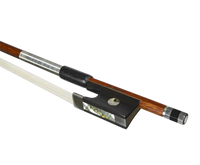
The Horse Hair:
The correct amount of hair is carefully selected, tied at one end with strong, thin thread. The end is dipped in resin dust and then held to a flame to make it expand, and it’s then pressed into the mortise in the bow head, and secured into place with a small wooden wedge (usually maple).
The hair is then measured, cut to the correct length to fit at the frog. At this point many luthiers will wet the hair. The hair is then brushed and rearranged to sit correctly, the ferrule is slid over the hair, and then this end is also tied and fitted the same way to the mortise in the frog as at the tip, held in place with a maple wedge.
Then the slide is inserted over the hair, the ferrule is brought partly into place and a third maple wedge is fitted in between the tongue of the frog and the ribbon of hair, holding it neatly against the flat part of the ferrule. This is called the spreader wedge. Some luthiers will fit the hair in reverse, at the frog first and then the tip.
All three wedges are freshly cut or at least trimmed specifically to fit your bow during preparation at the time of installation. They will expand and contract with weather, just like the body of your instrument, and will deteriorate over time. With frequent use, this is partly why you need to rehair your bow often.
Want to learn more about bows? Click here!