

Have you ever had a good look at the bridge on your instrument? If you’ve purchased your violin, viola, cello or double bass from a violin store or maker, you’ll notice how carefully it has been carved. This is to ensure you have a great playing experience, every time you play. If you want to learn a little more about why a bridge must be hand-carved, just read on!
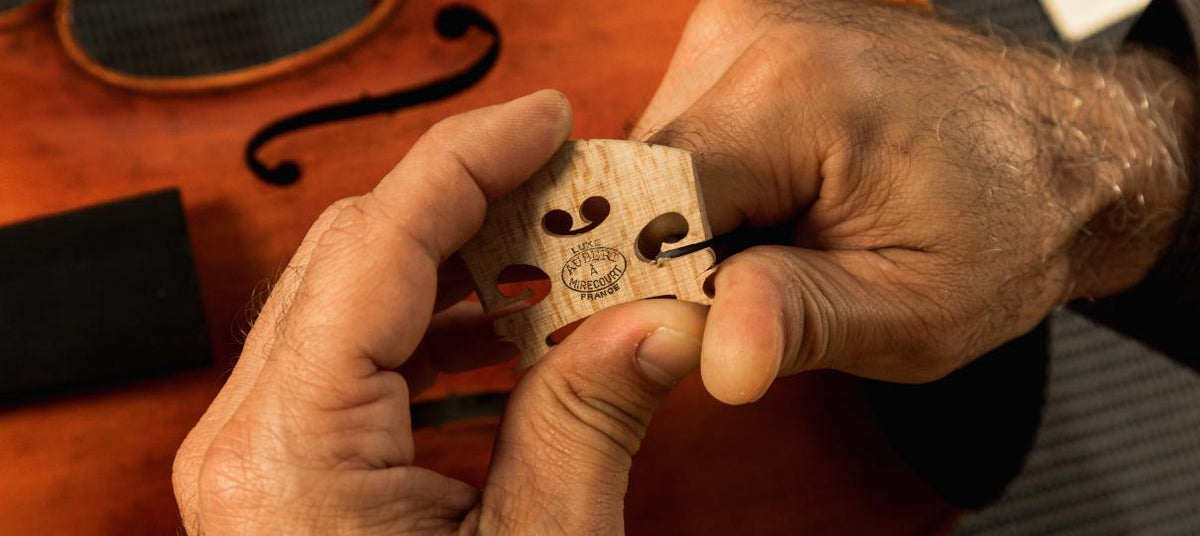
When you order a bridge for your instrument, it arrives in the form of a ‘blank’. Although it’s carved to the correct shape for its particular style, the new blank bridge is larger than you will need, in the following ways:
- The feet and ‘wings’ are much larger
- The top of the bridge is much taller than you’ll need it to be
- The bridge is thicker than it should eventually be
Why is this?
Every violin, viola, cello and double bass model is made to fit it’s own maker’s mould. The most popular maker’s mould is a Strad-style. You can find Strad-style violins made in workshops globally, from Enrico and Gliga, to Arioso, Jay Haide or Helmut Illner. However, each workshop has its own moulds that the individual luthiers had made using their measurements from one of many Strad examples. For this reason, the belly or top-plate will have a slightly different shape (including the arching) from brand to brand.
Every instrument made using the same pattern in the same workshop will have been carved to exactly the same shape and measurements, but due to the fact that they are hand-carved, there will be minute differences between every single one they make.
As soon as the instruments have been completed, glued, and allowed time to settle, the internal and external pressures of their construction will cause a slight change to the shape of each one as they settle. The untrained naked eye may not be able to tell, but the differences will be there.
When a bridge and string set are fitted for the first time, the instrument comes under many kilograms of tension. This will cause further settling of the timbers and change the shape of the belly slightly over the next days, weeks and months.
All these factors mean that every violin, viola, cello and double bass has a slightly different shape and fitting the bridge exactly to the instrument will take specific adjustments. You can’t take a bridge off one instrument and assume it will fit the next one correctly. It may, but it’s more likely that it won’t.
How are blank bridges adjusted?
Feet: To carry sound fully from the strings through to the body, each bridge foot must sit flush on the surface of the sound-plate. All the underside of both feet must be making contact with the belly to successfully conduct the soundwaves through into the soundbox. At its worst, we have seen instruments brought in for service with incorrectly-fitted feet actually causing a buzz when the strings were bowed. Usually, for buzzes we look at other causes first, but a poorly carved bridge foot can make it happen.
Top: When fitting a bridge, we aim to have the strings each set to a specific height above the end of your fingerboard. This may have to vary depending on how the neck and fingerboard have been set, the angle and “projection” of the neck; it can also be affected by the shape of your fingerboard - it’s trimmed by hand, with a slight concave shape given to it, and again because this is all done by hand-carving, each one will be slightly different. Our luthiers do work with templates, but there is individual calculation and adjustment required for every new bridge. This is a very specific skill requiring proper training. The top of your bridge blank is too high because we start high and cut it down to the exact height needed for each string on your specific instrument.
Thickness: When the desired heights have been achieved, the top and edges are trimmed to thin them as the luthier requires. Part of this is to reduce the amount of wood and hence reduce the extra weight from your instrument, but it is also part of “tuning” your bridge so it will give the very best sound and vibrate correctly. A very thick bridge will have the effect of muting your instrument. An appropriately trimmed and tuned bridge will set the sound free, allowing your instrument to resonate gloriously!
Learn about our Professional Set Up in the video below.
Can I use a blank bridge?
If you simply order a bridge blank, cut some grooves for your strings and put it on the instrument, you will possibly be able to play. However, the following risks are being taken:
- Depending on the exact shape of your instrument’s belly, the feet could imprint the wood incorrectly creating damage to the surface.
- The strings will be too high and on the wrong angle, risking costly string breakages.
- Undue tension will be placed on the instrument, causing a change of shape in the top plate, around the middle but also causing stress towards the top of the body and warping your instrument.
- The strings will be too high, making it very hard for you to push the strings down with your fingers, and making it harder to produce a good quality sound.
It is for these key reasons that we recommend you have your bridge adjusted to suit your instrument.
Which bridge should I choose?
There are many different models of bridges at vastly different prices. Here at Simply for Strings, we offer good quality bridges at a reasonable price for student instruments, and to have a few outstanding options as a range of choice for intermediate and then more professional level instruments.
The maple used for a bridge is referred to as “tonewood” and chosen for its ability to carry sound well and to resonate when knocked correctly. The higher the level of bridge, the maple increases in its quality.
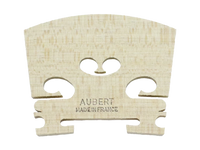
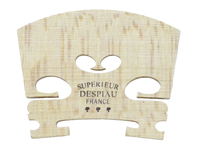
Our preference is mainly to use the French-made Despiau brand of bridge, however we also choose the French-made Aubert brand of bridge.
For Despiau bridges, you can choose one of three options. They are all made beautifully from good quality maple.
- “1 tree” (standard: used for beginner and lower intermediate instruments);
- “2 tree” (higher intermediate level); and
- “3 tree” (professional level instruments).
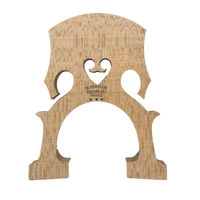
If looking at cello bridges, there is often the question of “French” or “Belgian”. These two styles have different shapes. French gives a fuller, warmer sound. The Belgian design gives clearer, stronger, more focussed and perhaps a little sweeter sound.
If looking at double bass bridges, there is the option of having height-adjustable jacks. Jacks can be fitted to your existing bridge too, to allow you to adjust the height of the strings above the fingerboard. This can be helpful for jazz bassists.
We hope you can now see why it’s necessary for your bridge to be carved by an expert. It’s not a simple quick fix, but requires hand carving by a trained craftsperson. It is also not a five-minute job! This is also why the cost of fitting your bridge is considerably greater than the purchase price of the bridge blank. Just as with your car’s regular services, properly trained craftspeople must be compensated appropriately for the hours they work, and labour costs are usually the biggest part of your repairs.